Van Gogh Watercolour paint 569 Azo yellow M, 1 piece
Azogelb Medium, 1000 ml

Water, paint and ordinary paper? Unfortunately, getting started in watercolour painting isn’t quite that easy. Continue reading and find out what equipment you really need and what you can do without.
Last year, in a moment of creative megalomania, I bought a watercolour paintbox at a craft store. That alone would’ve been fine, but I also bought various brushes, sketchbooks and additional colours. A lot of equipment for a new hobby. This behaviour is typical for me: an absolute beginner, but I need pro equipment from the get-go. Today, a year of practice later, I’m still a beginner, but at least I know what you actually need to get started, what gimmicks you don’t need, and how to best approach the subject.
Watercolour paints are expensive. If you’re not sure yet if watercolour is the painting technique you want to stick with, start off with inexpensive paints. Low-budget school-grade watercolours and gouache have a lower pigment content compared to professional watercolours. The pigment quality is usually lower, too. High-quality watercolours look more vibrant when painted with and turn creamy when in contact with water. In my experience, these watercolours are not only easier to correct afterwards but also easier while layering the colours. However, the technique remains the same for both options. Inexpensive watercolours are therefore a great way to get you started with mastering watercolour painting.

If you still want to start with high-quality watercolours, I advise you to buy a small box of 12. Or buy individual colour pots in the primary colours red, yellow and blue. Black and white complete the trio. Mix every colour in between on a plastic palette or in various glass bowls. Only when things are serious between you and watercolouring, it’s worth investing in a larger range of colours. I’ve had good experiences with the brand Van Gogh.

Van Gogh Watercolour paint 569 Azo yellow M, 1 piece
Azogelb Medium, 1000 ml

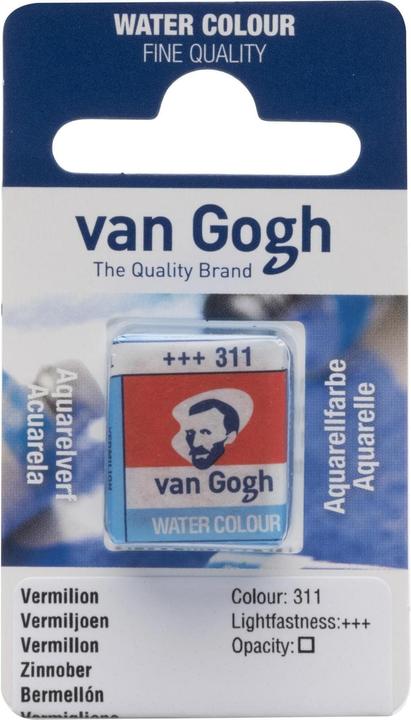
Van Gogh Watercolour paint 311 vermilion, 1 piece
Vermilion number 311, 1000 ml

The more you practise, the more details you notice and understand. So after a few months, I bought an opaque watercolour tube for white elements, such as stars in a night sky as well as shimmering watercolours for highlights on dark backgrounds. But these things only matter after you’ve mastered the basics.


Van Gogh Watercolour 106 opaque white, 1 piece
Opaque white number 106, 1000 ml

Watercolour painting involves a lot of water. Therefore, ordinary printer paper isn’t a good choice, because it quickly curls and warps. Water and paint will collect in the resulting dents, causing you to lose control of the placement. That’s frustrating. Use a watercolour sketchbook with thick paper instead. You can tell how thick the paper is by the g/m² measurement – so grams per square metre. The heavier the paper, the thicker and more expensive it is. However, in my opinion, it’s not worth saving here. I work with 200 g/m² upwards.

An important feature of such watercolour sketchbooks is that the individual sheets are glued to each side. There are a range of versions. Some sketchbooks are bound on four, others only on one, two or three sides. This binding keeps the sheet stretched and prevents the paper from curling. Once your picture is dry, use a cutter to remove the sheet. Personally, I prefer quadruple glued paper, as it gives me security.
Watercolour paper can be fine or coarse-grained. This means that the paper surface has more or less structure. For beginners, I recommend smooth paper, so you don’t need to deal with bumps and resistance as you learn how to brush. Later, you can switch to rougher paper. This yields more movement to the image.
Tip:* don’t just throw away feeble attempts, keep the paper and use the reverse side for colour tests. Because unlike gouache or school-grade watercolours, dark watercolours in particular are almost indistinguishable from one another when dry. If you test them on a separate piece of paper first, you’ll save yourself a colour faux pas. The same applies to mixed colours.
Since I started watercolouring, I’ve only used three brush sizes: a fluffy thick one for larger areas (Da Vinci Casaneo 12), a smaller pointed one for colouring in (Van Gogh Selected Filament 6) and a very thin one for fine details and tracing outlines (Da Vinci Nova Synthetics 0). I don’t recommend buying specific sizes from the start, because what works for me isn’t necessarily right for you. An inexpensive set is ideal for finding out which sizes you prefer to work with.

Forget books. They won’t do you any good in the beginning. As a beginner, you benefit most from a moving image – watching others wield their brushes, mix and layer colours. On Pinterest and Instagram, you’ll find lots of short clips on techniques that you can save and follow. You’ll also find beginner motifs to recreate.

Using such templates as a guide will help you get a feel for the interplay of water and colour more quickly and without having to put your imagination to the test. I’ve purchased a low-budget watercolour sketchbook for this purpose. I use it to try new techniques, shapes and colour combinations as well as smaller motifs. A ring pad is convenient because you can let the individual pages dry well and collect your progress in one place.

What I also like to do is look for pictures on the Internet, which I print out and trace onto a watercolour paper. For this purpose, I detach the watercolour paper from the sketchbook, even though this can create waves. It’s worth it because you’ll be focusing on just one aspect while colouring. For example, on creating shades. It also gives you a feel on how the result changes from application to drying. What appears unaesthetic to you in one moment may look fantastic when dried. The effects of watercolour are difficult to gauge, especially in the beginning.

When you’re buying your first watercolour equipment, remember it’s quality over quantity. As they say: practice makes perfect!
92 people like this article
As a massive Disney fan, I see the world through rose-tinted glasses. I worship series from the 90s and consider mermaids a religion. When I’m not dancing in glitter rain, I’m either hanging out at pyjama parties or sitting at my make-up table. P.S. I love you, bacon, garlic and onions.