I'm making myself a lantern - and it's not that difficult
Would you like to make a lantern with your child? Paste, tracing paper or glow stick - I'll show you everything you need here.
It's that time again: the worst time of the year - lantern-making time - is upon us. What is pure joy for children is a horror for me. Unfortunately, I am completely uncreative, lacking in motivation and hopelessly lost: While other parents are creating glowing masterpieces, I'm trying to cut out a halfway convincing star that looks more like a football from tracing paper.
However, as I have two children of a crafting age, I have learnt a few tricks that almost make me a pro: My lanterns still look scary, but they are quick and easy to make. Find out what equipment I use to achieve this here.
Electric candle
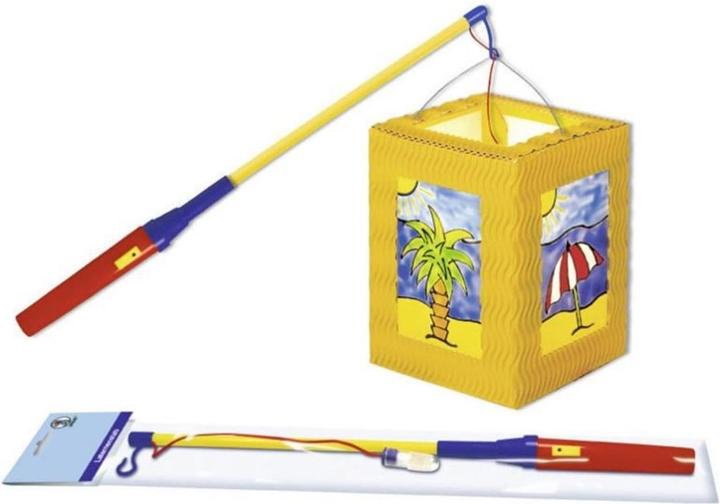
This is what happened to me last week when I was making something at nursery school: The light was finished. Well, almost. Because while professional mums had already stocked up on lantern sticks and battery-operated tea lights, my son and I looked stupid. So I had to get one of these first before we could go to the parade.

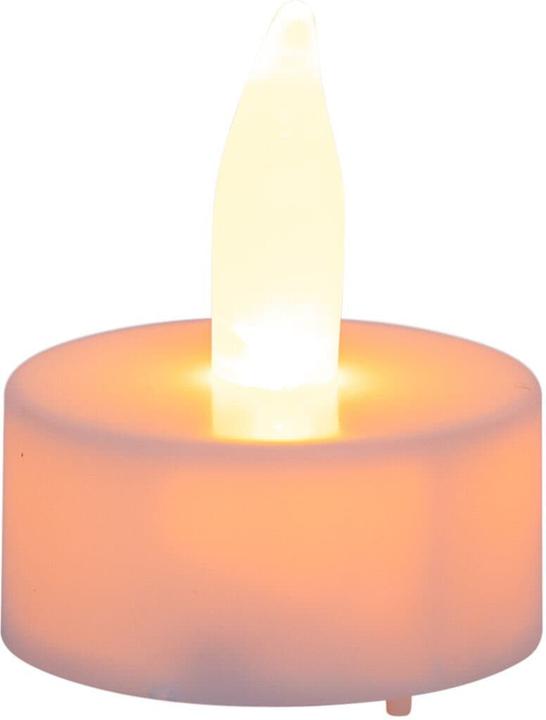

Idena Lantern Stick 39cm LED 2x 1,5V Battery
1 pcs.
Our Swiss customers can find the light rod here:
Translucent paper
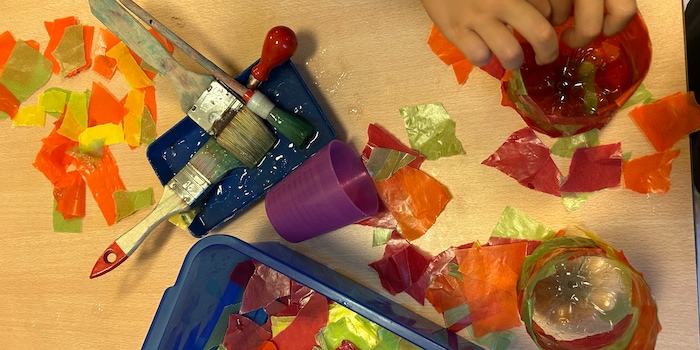
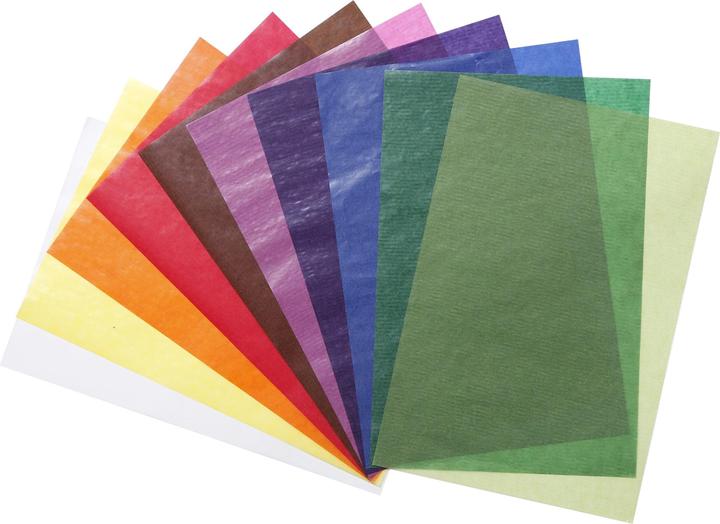
What you definitely need for the craft is transparent paper. Cut or tear the coloured paper to size and then stick it to the base of the lantern. A transparent plastic bottle, the top half of which you cut off, or an inflated balloon are a good and inexpensive choice for this. If you opt for the balloon version, I would advise you to use several layers of transparent paper to achieve a certain stability. If you want something a little more elaborate, create a framework with thick coloured paper and then cover the free surfaces with the translucent paper.
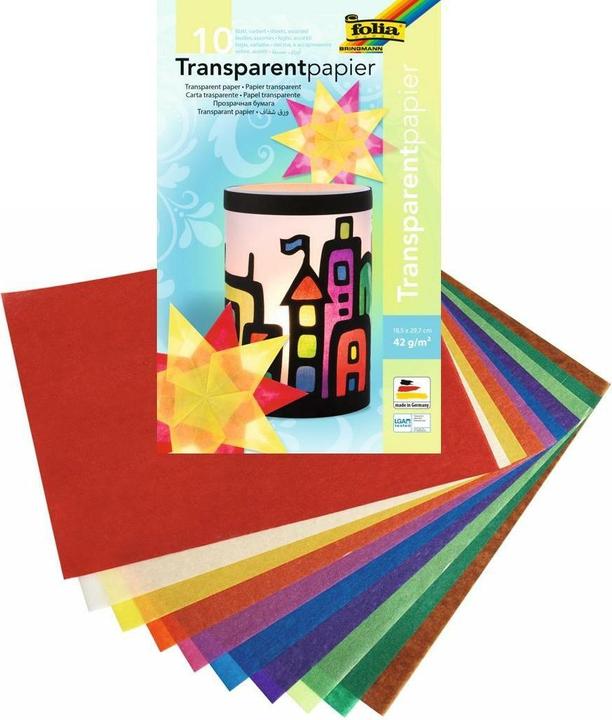
Folia Transparent paper
42 g/m², 10 x

The right adhesive
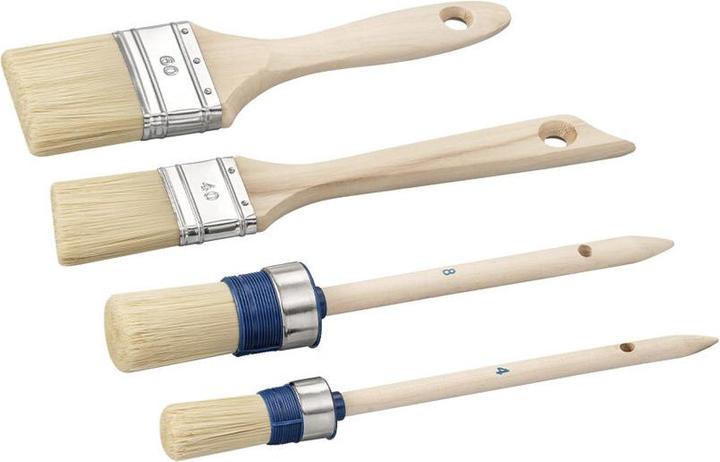
Craft paste is ideal for gluing onto plastic. You can spread it with your hands and get annoyed about the residue at the sink afterwards. It's easier with a thick brush. I recommend a real paintbrush and not the thin craft brushes, because you don't want to make a miniature lantern. And remember to start your project in good time before the planned lantern parade - because it can take a few days to dry.
If, on the other hand, you want to attach the transparent paper to cardboard or coloured paper, a normal adhesive or double-sided adhesive tape will suffice.
Acrylic paints for aluminium cans
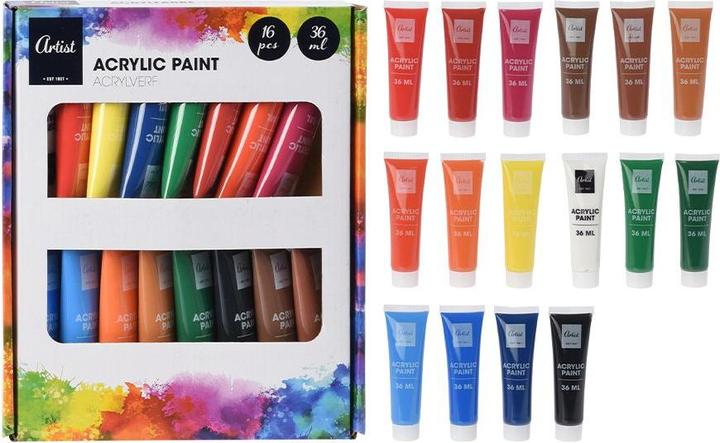
If you don't want to use a plastic bottle, balloon or paper: an empty tin can can easily be painted with acrylic paints. You should first put the washed tin in the freezer once filled with water. Afterwards, you can punch out open spaces with a nail and hammer. The ice will prevent the tin from denting.


tesa Double sided adhesive tape
Stickers against blemishes
Cutting mishaps and other unsightly transitions can be concealed with colourful stickers.
For the lazy: the craft kit
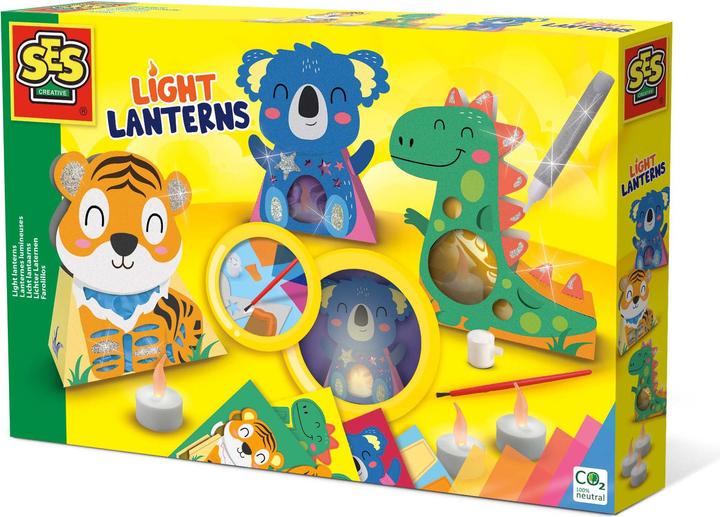
You are even better equipped with a craft kit that already contains all the materials. You are still creative, but have significantly reduced the risk of a crafting fiasco
For the very lazy: the ready-made lantern
My absolute favourite is still a purchased lantern. If you're short of time or don't like crafting, you can find lots of great ready-made models in our shop.
Are you making a lantern? If so, what materials do you use? Let me know in the comments
Cover photo: Anne Fischer
A true local journalist with a secret soft spot for German pop music. Mum of two boys, a dog and about 400 toy cars in all shapes and colours. I always enjoy travelling, reading and go to concerts, too.
From the latest iPhone to the return of 80s fashion. The editorial team will help you make sense of it all.
Show all