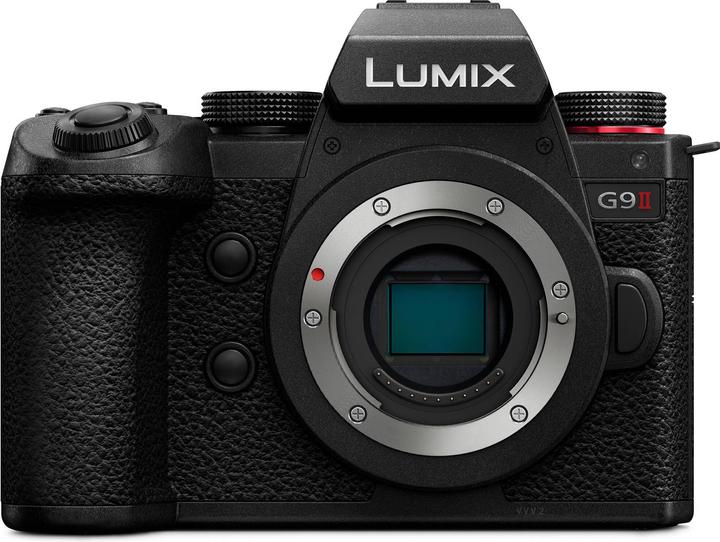

Is the Panasonic G9 II suitable for wildlife photography?
In a practical test, the G9 II proves a light-footed and powerful camera for wildlife photography. Granted, it does have its weaknesses.
The Panasonic Lumix DC-G9 II abides by the Micro Four Thirds (MFT) system. MFT cameras have a much smaller sensor than full-frame cameras. This also makes the lenses smaller and lighter. You will notice this most with strong telephoto lenses. Those are used especially for sports and animal shots.
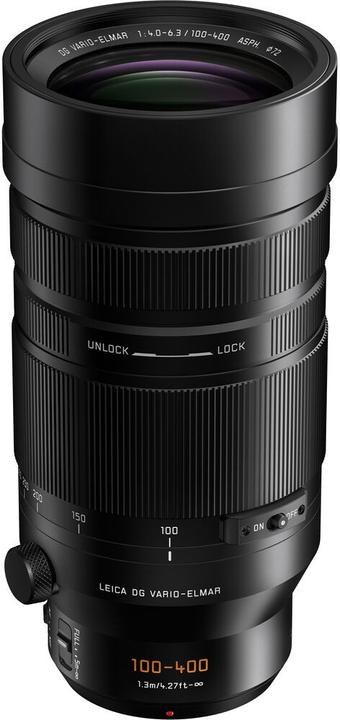
I tested the camera with the new 100-400mm lens, whose full name is Leica DG Vario-Elmar 100-400mm/F4.0-6.3 II Asph./Power O.I.S. The full-frame focal length would correspond to 800 millimetres, quite a lot.
It seems the MFT system is well set up for sports, wildlife and action photography. However, it also requires a fast camera with excellent autofocus. And the sensor shouldn’t produce too much noise, because you will often have to shoot with high ISO values.

Source: David Lee
Continuous shooting speed and rolling shutter – works
The G9 II manages ten frames per second with a mechanical shutter. This is already enough for most animal scenes. With the electronic shutter, even 60 fps is possible – that’s easily enough even for birds in flight. Without autofocus tracking, this could even be increased to 14 and 75 frames per second, respectively.
However, with the electronic shutter and fast movements, the rolling shutter effect can become a problem. Sensors that capture the image data too slowly will deliver a distorted image. To test this, I take a picture of my fan, spinning away rapidly. As its speed is constant, I can draw comparisons to other cameras.
Here’s the Panasonic G9 II:

Source: David Lee
There’s definite distortion – but it’s less pronounced than on the Canon EOS R7, for example.

Source: David Lee
In contrast, this image was taken with a mechanical shutter: no geometric distortion.

Source: David Lee
Still, the degree of distortion on the Panasonic G9 II is acceptable, hardly any subject will move as fast as a fan. I therefore use the electronic shutter in the test. The only way you’ll get even less distortion is with stacked sensors. And so far those are only found in a few, mostly expensive cameras.
I also prefer the electronic shutter because the viewfinder in mechanical ones doesn’t show the subject constantly, making it hard to track a fast-moving subject. This could be a bug that’ll be fixed in the future.
A pity, because the camera has a direct selection dial that allows switching between electronic and mechanical shutters near instantly.
Pre-burst: capturing early moments
The Panasonic G9 II masters the pre-burst. This allows you to catch a few fleeting moments even before you press the shutter button. Here’s the techy bit: if you press the shutter button halfway, the camera already takes photos continuously, but only saves them in the internal buffer. Only when the trigger is fully pressed will everything be saved to the card. The whole thing only works with the electronic shutter.
You can set the pre-burst to begin up to 1.5 seconds on the G9 II. That’s what I went for. The only downside is that a lot of photos will be written on the card, which can take ten seconds or even longer.
These previews are a killer feature when it comes to catching a bird’s takeoff. In fact, it only takes me a few minutes at the zoo to get the right shots in the can. Without a Pre-Burst, this could have been a lengthy test of patience.
The slight motion blur in the image is my fault – I should’ve cut down the exposure.

Source: David Lee
Panasonic’s implementation of a pre-burst leaves nothing to be desired. Unlike Nikon, it also works in RAW mode. Thanks to the small rolling shutter effect, the photos hardly have any drawbacks compared to regular continuous shooting functions. And at most, the only thing that suffers slightly is battery life.
Image quality: cons of the small sensor
The background in the above photo is quite chaotic. One disadvantage of the small sensor? There’s greater depth of field with the same image detail and aperture. The other disadvantages are increased image noise and a reduced dynamic range. However, it isn’t only size that matters, there’s also the properties of the respective sensor.
At time of testing, I can only look at JPEGs, the RAW format isn’t yet recognised by converters like Lightroom. My findings should therefore be taken with a grain of salt. But at a first look, there’s only moderate image noise for a sensor of this size. In JPEGs, it remains within an acceptable range up to 6400 ISO.

Source: David Lee

Source: David Lee
In low light, however, photos often become too dark even with this sensitivity, as the shutter speeds have to be fast. And that will lead to heaps of noise. As I really wanted to avoid this, I left the exposure too long. Leading to an even worse result. With a full-frame sensor, you have more leeway in this regard and don’t always have to hit the sweet spot.
It also becomes problematic if you have to crop the image heavily. Because of the low resolution, noise can no longer be hidden.
I can only roughly estimate the dynamic range based on my shots without RAW access. I already notice a difference compared to full-frame cameras. True, overexposed areas such as bright bird feathers can also pop up with large sensors. But here it happens all the time in bright sunlight, even with exposure compensation set to -0.7.

Source: David Lee
Autofocus and scene detection: not top-notch, but good
The G9 II automatically detects animal and human eyes as well as cars and motorcycles. But you’ll have to switch between these motifs yourself. If you set it to eye detection, the camera switches between the body and eyes itself.
You can activate this scene detection for an entire image or for a selected section. This area can also take the form of a horizontal or vertical line, useful for certain sports scenes. All settings are accessible via a direct selection button. More importantly, the camera has a joystick for moving the section.
With birds, eye recognition usually works very well. In other zoo animals such as monkeys, kangaroos or antelopes, it’s pretty decent, too. On exotic animals such as a monitor lizard, the camera doesn’t recognise eyes. Black animals with black eyes are also challenging – but other cameras struggle here, too.
Usually, there are some false positives – times when the camera recognises something as an eye that really isn’t. This happened with gorilla ears, giraffe horns and peacock feathers.
In the end, eye detection is very useful and Panasonic has made a big leap forward in this area.
Beta firmware and various quirks
I’m testing a pre-production model. It’s running firmware 0.47 at time of testing, which is still in beta. Every now and then, an error message appears out of the blue. Only a restart will get rid of it. This’ll certainly be fixed.
I’m less sure about another quirk: the camera often reacts sluggishly when turned on. A problem for animal photography. If an animal suddenly appears, both the viewfinder and autofocus have to turn on immediately. It remains to be seen whether this’ll get any better. Experimenting with the standby and energy-saving options didn’t change anything.
Video: superb quality, cumbersome hybrid use
The G9 II records some great videos. It offers countless possibilities in terms of resolution, bit depth, frame as well as sampling rate and compression. There’s even 5.7K at 50 fps. Most of these features can be used with no or very little cropping and provide a sharp image. I suspect they’re all calculated using oversampling. This is possible thanks to the relatively low resolution of the sensor.
By the way, the Panasonic G9 II can definitely shoot with cropping if you need it for any reason. Say you need to enlarge a bird in a picture, for example.
Another plus: the camera has a large HDMI port that’s more robust and less fiddly than mini HDMI.
My only complaint is that switching between photo and video isn’t smooth. For animal and sports scenes in particular, I like to make a quick recording between two photo sets. The G9 II would actually be perfect for this with its high video quality. Just a shame the camera retains the same shutter speed when I change modes. If I photograph a bird at 1/2000 second, the video will also be shot at 1/2000 second. Since I don’t want that, I always have to turn the dial for a bit. I can work around it by saving custom user settings, but it’d be better if the camera remembered different settings for photo and video.
There were short glitches at 100 fps in my test. A pity, as this rapid frame rate is also available at 4K and HQ. I hope this’ll be fixed in the release version.
The lens and alternatives
The 100-400mm lens I’m using for this test is also new. However, the changes compared to the previous model are minor. When in use, I only noticed the switch that restricts the zoom range. Since this switch is very easily flipped accidentally, it was more annoying than useful. On the other hand, I’m happy the new 100-400 is compatible with Panasonic teleconverters for the MFT system.
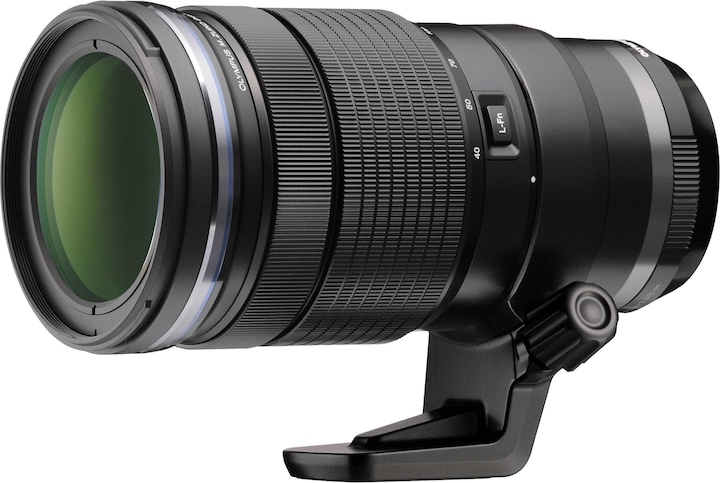
At the zoo, I rarely needed the 400-millimetre focal length. If you don’t want to shoot small birds or distant animals, there are several other telephoto lenses available with better speeds.
Other impressions
Menu navigation on the G9 II is clear and logical. I find my way around without any problems, even though I rarely shoot with Panasonic cameras. I also have no complaints about the buttons and dials, which have been adopted one-to-one from the Panasonic Lumix S5 II.
With pixel-shifting shots, the middling resolution of 25 megapixels can be increased to 100 megapixels. The camera takes several shots and shifts the sensor by one pixel each time. Afterwards, it adds up the information. The multiple shots happen in such quick succession that the whole thing works even without a tripod.
This pixel shifting actually results in images with significantly more detail. True, the sharpness doesn’t come close to a true 100-megapixel photo like with the Fujifilm GFX100 II. And yes, the whole process only works really well with static subjects and takes some time to compile. Bird photos aren’t possible with this method. But it’s a good option for landscape photography.
Check out the following comparison. It contains two sections from a photo, one without and one with pixel shifting. The 100-megapixel image is significantly sharper.
The viewfinder offers a refresh rate of 120 hertz – enough for fast scenes. That’ll produce a 3.69 million pixel resolution. Not great, not terrible. But it didn’t bother me while testing. However, the competing OM Systems OM-1 camera has a viewfinder with a higher resolution. By the way, if you want to know the number of pixels, you always have to divide the pixel number by three – even with other brands – as otherwise you’ll be counting subpixels. And if you split that between length and width, it looks like a lot less.
Verdict: a big step in the right direction
The G9 II is Panasonic’s first MFT camera with advanced animal eye detection. It usually works very well for birds, otherwise it’s passable. It partially fails with exotic animals. Panasonic takes a big step forward here, but can’t quite keep up with the best autofocus systems yet.
Nevertheless, as long as Panasonic still fixes the quirks of the beta firmware – which I assume will happen – the G9 II is well suited for sports, action and wildlife photos.
Videos are pretty nice too. The video quality is excellent, even at high frame rates. Only the switch between photo and video is more complicated than necessary as the camera always takes over the shutter speed.
The main advantage over other systems is that lenses with long focal lengths are relatively small and light. Since Olympus and its successor OM System use the same system, you can also use lenses from these brands.
Speaking of the OM system, the G9 II is similar in concept to the OM-1. Price-wise, the two are in a similar range. The Panasonic camera has a slightly higher resolution and a slightly better image stabiliser, but the OM-1 scores with a stacked sensor and has advantages in viewfinder resolution and battery life.
Unless you’re already into MFT, it’s also worth looking at other systems. In the APS-C format – the sensor size between MFT and full frame – there are now several cameras that are well suited for wildlife photography. In particular, the Fujifilm H2S with a stacked sensor and the budget-friendly Canon EOS R7.
Header image: Samuel BuchmannMy interest in IT and writing landed me in tech journalism early on (2000). I want to know how we can use technology without being used. Outside of the office, I’m a keen musician who makes up for lacking talent with excessive enthusiasm.


